Installing Loop Brakes on Drive Medical Walker Rollators
This Post Outlines The Steps To Install a Replacement walker and rollator brakes for Drive Medical Rollators. Use the Steps Below and the Handy Visual Guide Below to Replace Your Brakes.
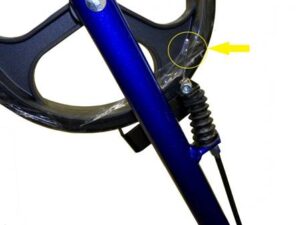
- The old loop brake has to be removed before installing the new one. If both loop brakes have to be replaced, do one at a time. By doing one at a time the one not being changed can be used as a guide. See if there is an end cap on the brake cable by the wheel and Clip off the end cap and Loosen the set screw on the cable fastener to remove the fastener.
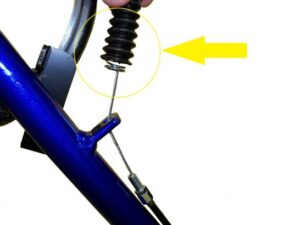
- Pull the cable through the spring and spring boot.
- To remove the loop brake handle, the hand grip has to be removed. You can cut it off or soak it in hot water to remove it. To Soak and Remove, first remove the handle bar from the unit by removing the height adjustment knob from the unit and lifting the handle bar out.
- Soak the hand-grip in hot water for 5 to 10 minutes. This will expand the hand-grip and break any glue bond. Slide the hand-grip off the handle bar.
- Next, to remove the old handle, locate the screw or screws that hold the loop brake handle on the handle bar and slide off.
- After the old one is removed, slide the new one in place and tighten, then add the hand grip.
- Using the other loop brake as a guide thread the brake cable to the rear wheel. Insert the brake cable through the spring and spring boot. Then, slide the cable fastener on the end of the cable.
- Pull up on the brake cable and slide the cable fastener down as far down as it will go. Tighten the cable fastener with an Allen Wrench.
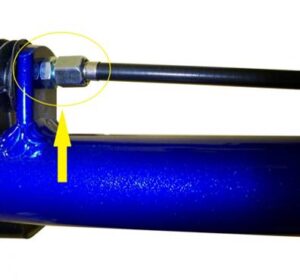
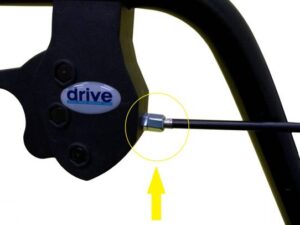
- Almost done! To move the brake pads closer to the wheel, there are 2 options (see below). If a solid contact with the wheel cannot be achieved with both of these adjustment nuts, turn both adjustment nuts clockwise until they stop. Repeat the previous step to take up any slack in the cable. Make sure that the cable fastener is down as far as it will go.
To Change the Walker/Rollator Brakes You Will Need:
Phillips Head Screw Driver, An Allen Wrench, and any type of Pliers.
- The old loop brake has to be removed before installing the new one. If both loop brakes have to be replaced, do one at a time. By doing one at a time the one not being changed can be used as a guide. See if there is an end cap on the brake cable by the wheel and Clip off the end cap and Loosen the set screw on the cable fastener to remove the fastener.
- Pull the cable through the spring and spring boot.
- To remove the loop brake handle, the hand grip has to be removed. You can cut it off or soak it in hot water to remove it. To Soak and Remove, first remove the handle bar from the unit by removing the height adjustment knob from the unit and lifting the handle bar out.
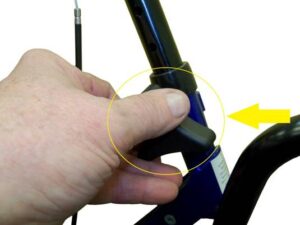
- Soak the hand-grip in hot water for 5 to 10 minutes. This will expand the hand-grip and break any glue bond. Slide the hand-grip off the handle bar.
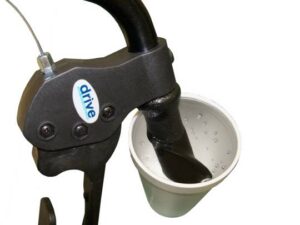
- Next, to remove the old handle, locate the screw or screws that hold the loop brake handle on the handle bar and slide off.
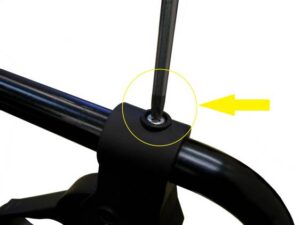
- After the old one is removed, slide the new one in place and tighten, then add the hand grip.
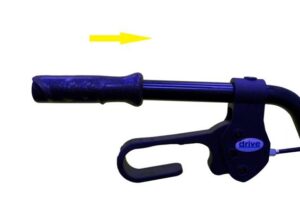
- Using the other loop brake as a guide thread the brake cable to the rear wheel. Insert the brake cable through the spring and spring boot. Then, slide the cable fastener on the end of the cable.
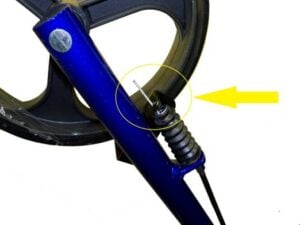
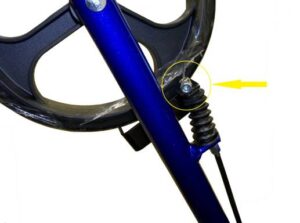
- Pull up on the brake cable and slide the cable fastener down as far down as it will go. Tighten the cable fastener with an Allen Wrench.
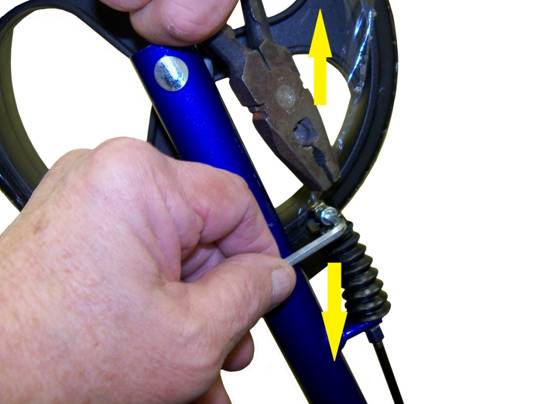
- Almost done! To move the brake pads closer to the wheel, there are 2 options (see below). If a solid contact with the wheel cannot be achieved with both of these adjustment nuts, turn both adjustment nuts clockwise until they stop. Repeat the previous step to take up any slack in the cable. Make sure that the cable fastener is down as far as it will go.
That's it, let us know if you have any questions!
